 User Manual Q&A
Answer

Apr 17, 2025 - 05:52 AM
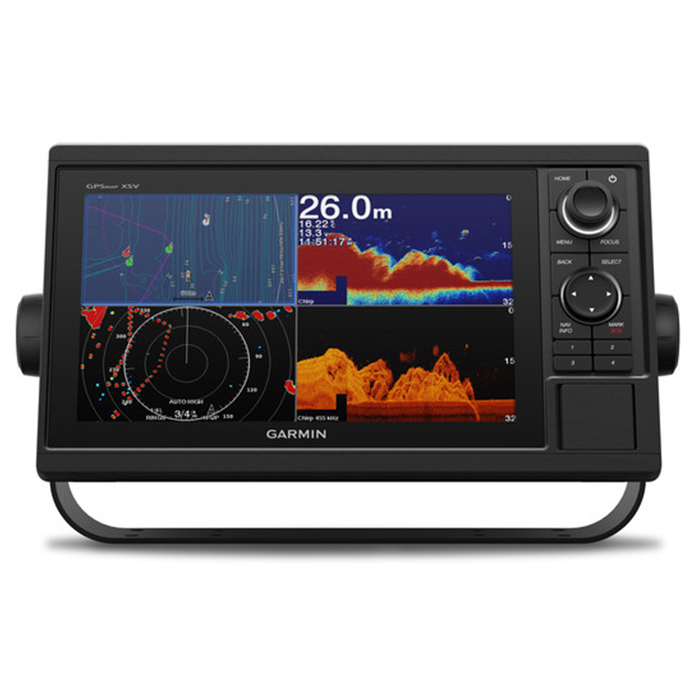
Mounting the Garmin GPSMAP 10x2 Series 10 Inch All In One Chartplotter can be done in two ways: bail mounting and flush mounting. Here are the step-by-step instructions for both methods as provided in the instruction manual:


Bail Mounting the Device:

1. Using the bail-mount bracket as a template, mark the pilot holes on the mounting surface.

2. Drill the pilot holes.

3. Secure the bail-mount bracket to the mounting surface using appropriate mounting screws.

4. Install the bail-mount knobs on the sides of the device.

5. Place the device in the bail-mount bracket and tighten the bail-mount knobs.


Flush Mounting the Device:

1. Trim the template provided and ensure it fits in the desired mounting location.

2. Secure the template to the mounting location.

3. Drill one or more holes inside the corners of the solid line on the template to prepare the mounting surface for cutting.

4. Use a jigsaw or rotary tool to cut the mounting surface along the inside line on the template.

5. Place the device in the cutout to test the fit.

6. If necessary, use a file and sandpaper to refine the size of the cutout.

7. Carefully pry up the corners of the trim caps using a plastic pry tool and remove the trim caps.

8. After ensuring the device fits correctly in the cutout, mark the new hole locations if the mounting holes on the device do not line up with the template.

9. Drill the appropriate hole sizes based on whether you are using a nut plate or not.

10. Place the nut plates on the back of the mounting surface, lining up the large and small holes.

11. Secure the nut plates to the mounting surface using the included M3 screws.

12. Install the foam gasket on the back of the device.

13. Connect all necessary cables to the device before placing it into the cutout if you will not have access to the back of the device after mounting.

14. Apply marine sealant between the mounting surface and the device to properly seal and prevent leakage.

15. Place the device into the cutout and secure it to the mounting surface using the included M4 screws.

16. Wipe away any excess marine sealant.

17. Install the trim caps by snapping them in place around the edges of the device.


Please note that these instructions are a summary of the steps provided in the instruction manual. For more detailed information and illustrations, refer to the Garmin GPSMAP 10x2 Series 10 Inch All In One Chartplotter Instruction Manual.


Add New Comment