 User Manual Q&A
Answer

Apr 04, 2025 - 01:22 AM
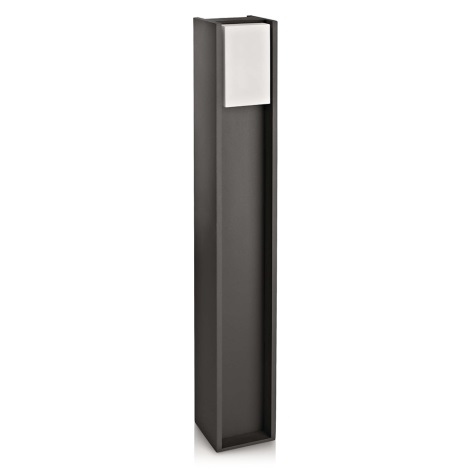
Installation of the Philips 16354 Bridge Light is a straightforward process. Please follow the steps below:

1. Ensure that you have all the necessary tools required for installation. The manual does not specify the tools needed, so it is recommended to have a screwdriver and possibly a ladder or step stool if needed.

2. Before starting the installation, carefully read and follow the safety instructions provided in the manual. This will help ensure a safe installation process.

3. Choose a suitable location for the Bridge Light. It should be placed in an area where it can provide optimal lighting and visibility. The manual does not provide specific recommendations for the location, so consider factors such as the size of the area you want to illuminate and any specific lighting requirements you may have.

4. Once you have selected the location, mount the Bridge Light securely using the appropriate mounting method. The manual does not provide specific instructions for mounting, so refer to the product packaging or consult with a professional if needed.

5. After mounting the Bridge Light, connect it to a power source. The manual does not provide details on the power source requirements, so ensure that you have a suitable power supply available.

6. Finally, test the Bridge Light to ensure it is functioning properly. Turn on the power and check if the light illuminates as expected.

If you encounter any difficulties during the installation process or have specific questions about the product, it is recommended to contact the Philips Lighting Contact Centre. They can provide further assistance and support for your specific needs.

Please note that the information provided here is a general guideline based on the available information from the manual. For detailed and accurate instructions, it is always best to refer to the official user manual provided with the product.


Add New Comment