 User Manual Q&A
Answer

Mar 21, 2025 - 02:40 AM
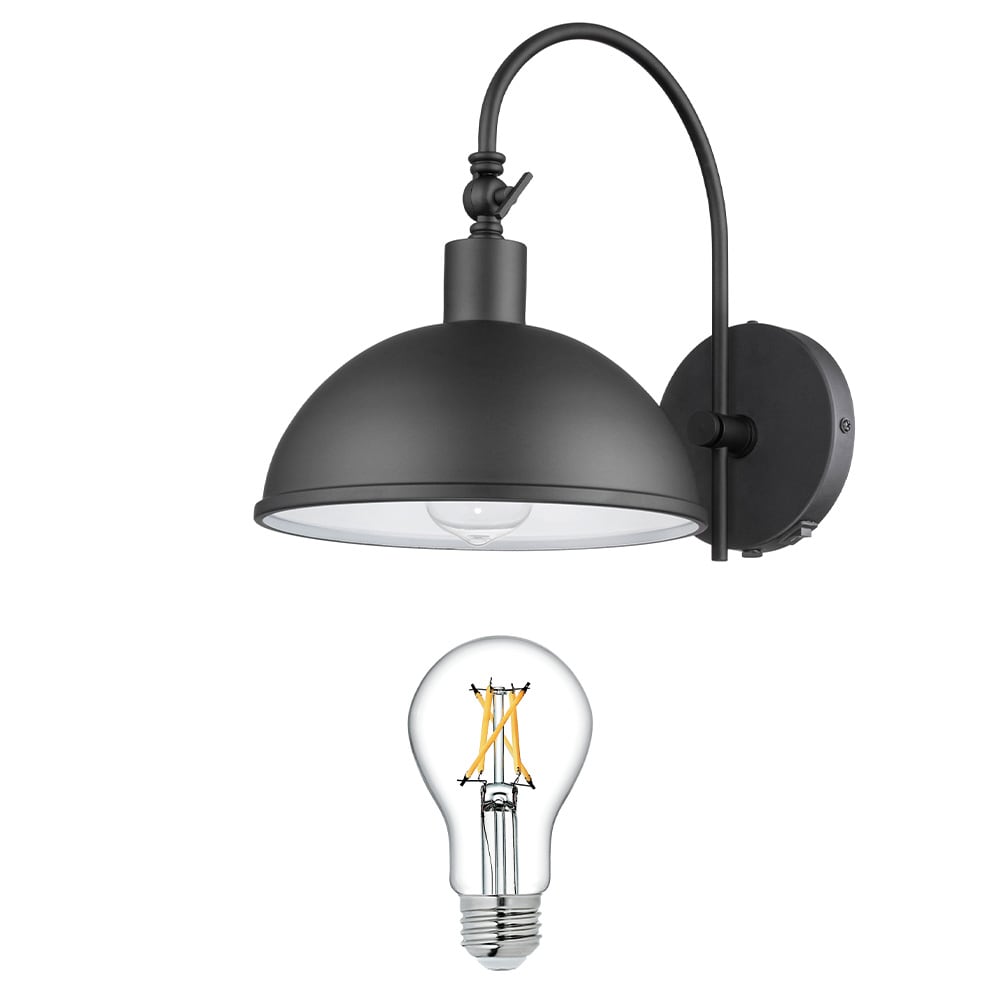
To install the allen + roth 42629 Wayton 9-in 1-Light Matte Black Modern/Contemporary LED fixture, you have two options: plug-in installation or hardwire installation.

For plug-in installation:
1. Turn off the circuit breakers and wall switch to the supply line leads.
2. Determine the desired location for the fixture and mark the anchor locations on the wall. Drill holes and insert anchors.
3. Set two screws into the anchors, leaving enough exposed to set into the keyhole slots on the preassembled wall plate.
4. Align the keyhole slots in the wall plate with the screws on the wall and slide it down until it is secure.
5. Install the LED bulb in the socket of the fixture.
6. Turn on the electrical power at the main fuse or circuit breaker.
7. Insert the plug preassembled to the power cord into a nearby electrical outlet and move the switch on the underside of the fixture to the ON position.
8. Adjust the direction of the metal shade using the adjustment  xxxx .

For hardwire installation:
1. Turn off the circuit breakers and wall switch to the supply line leads.
2. Remove the wall plate from the back of the fixture by unscrewing and removing the three mounting screws.
3. Attach the mounting bracket to the outlet box using the mounting bracket screws.
4. Loosen the ground  xxxx  on the mounting bracket and wrap the green/bare (ground) supply wire from the outlet box around the ground  xxxx . Tighten the ground  xxxx .
5. Remove the power cord from the fixture by releasing the wires from the wire connectors.
6. Insert the plug button through the grommet at the bottom of the fixture and secure it with the hex nut.
7. Make the necessary wire connections using the wire connectors preassembled to the fixture wires.
8. Align the holes in the fixture with the tabs on the mounting bracket and secure the fixture to the bracket using the mounting screws.
9. Install the LED bulb in the socket of the fixture.
10. Turn on the electrical power at the main fuse or circuit breaker.
11. Move the switch on the underside of the fixture to the ON position.
12. Adjust the direction of the metal shade using the adjustment  xxxx .

Please refer to the instruction manual for more detailed information and safety precautions.


Add New Comment