Answer

Feb 20, 2025 - 03:36 AM
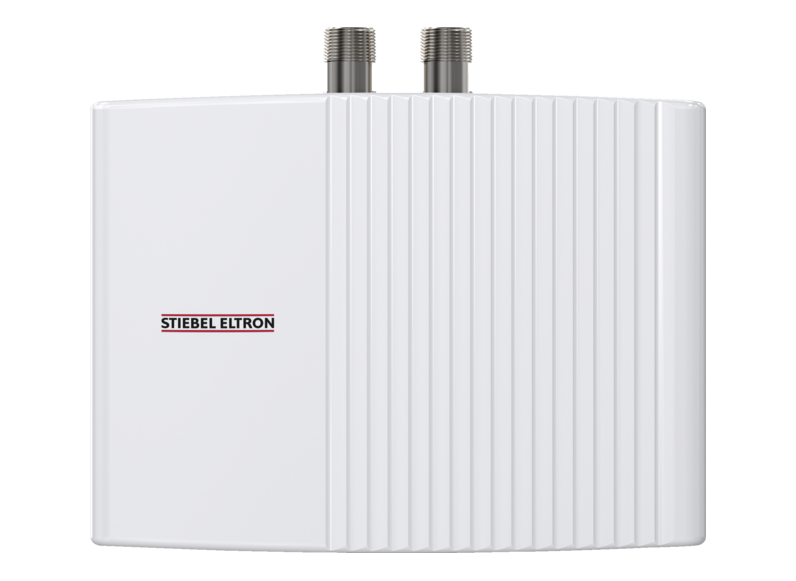
Installation of the  requires careful consideration and adherence to the provided installation guide. Here is a step-by-step guide to help you with the installation process:


1. Location: Choose a suitable location for the heater. Ensure it is close to the point of use and easily accessible for maintenance purposes. The heater should be installed vertically, with the water connections at the bottom.


2. Mounting: Use the provided mounting bracket to securely attach the heater to the wall. Ensure that the bracket is level and properly aligned.


3. Water Connections: Connect the hot and cold water supply lines to the appropriate connections on the heater. Use suitable fittings and ensure that the connections are tight to prevent any leaks. It is recommended to install shut-off valves on both the hot and cold water lines for easy maintenance.


4. Electrical Connection: The EIL 4 Plus Small Flow Heater requires a dedicated electrical circuit. Consult a qualified electrician to ensure proper electrical wiring and connection. Follow the electrical connection instructions provided in the installation guide.


5. Pressure Relief Valve: Install a pressure relief valve on the hot water outlet to prevent excessive pressure buildup. The valve should be piped to a suitable drain or discharge point.


6. Ventilation: Ensure proper ventilation for the heater to dissipate heat. Follow the ventilation requirements mentioned in the installation guide.


7. Start-Up: Once the installation is complete, open the shut-off valves on the hot and cold water lines. Check for any leaks and ensure proper water flow. Follow the start-up instructions provided in the manual.


Please note that this answer provides a general overview of the installation process. For detailed instructions and specific requirements, it is essential to refer to the STIEBEL ELTRON EIL 4 Plus Small Flow Heater Installation Guide.
 User Manual Q&A


Add New Comment