 User Manual Q&A
Answer

Feb 17, 2025 - 01:47 AM
To install the correctly, please follow the instructions provided in the manual. Here is a step-by-step guide:
1. Ensure that the installation is performed by qualified personnel only.
2. Disconnect the power before dismounting the coil.
3. Avoid direct exposure to alkaline conditions and use the coil in neutral conditions for optimal performance.
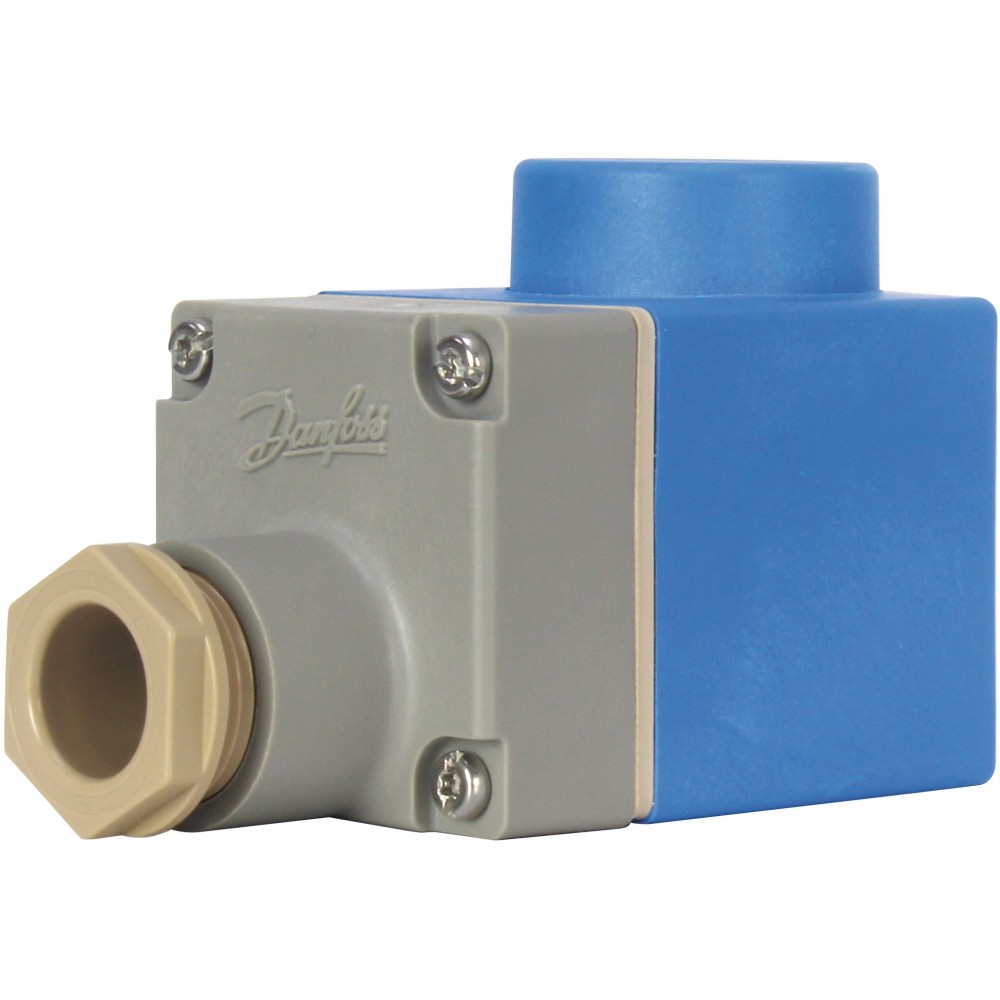
4. Make sure the O-ring is in place on the valve to prevent moisture from penetrating inside the coil.
5. If the coil is used as an independently mounted control, use a plastic cable gland with strain relief for proper cable management.
6. The suitable cable and conductor size for the plug should be between ø6.6 - ø11 mm (ø0.26 - ø0.43 in) and 0.75 - 1.5 mm² (21 - 15 AWG flexible cord).
7. The plug can be mated up to 10 times.
8. For cable installation and handling, ensure the temperature is above 5 °C (41 °F).
9. For systems using R290 as the working fluid, the 9 mm coil (IP65/67) can be applied. However, it is recommended to install a fuse ahead of the coil with a rated current of two times the rated current and a medium time lag to avoid short circuits.
10. The coil is suitable for areas with pollution degree 2 or lower.
Please note that the 9 mm coil (IP65/67) has not been verified as ATEX or IECEx or IEC 60079 series zone 2 compliant. It is the responsibility of the user to verify compliance with applicable safety standards. Improper use can result in explosion, fire, leakage, and potential harm to individuals or property.
For more specific information or any additional questions, refer to the Danfoss AS Solenoid Coil Installation Guide.


Add New Comment