 User Manual Q&A
Answer

Feb 05, 2025 - 12:07 AM
To charge your Oculus Quest 2 headset and controllers using the ANKER Y1010 Charging Dock, follow these steps:
1. Insert the magnetic USB-C plug into the USB-C charging port of your headset.
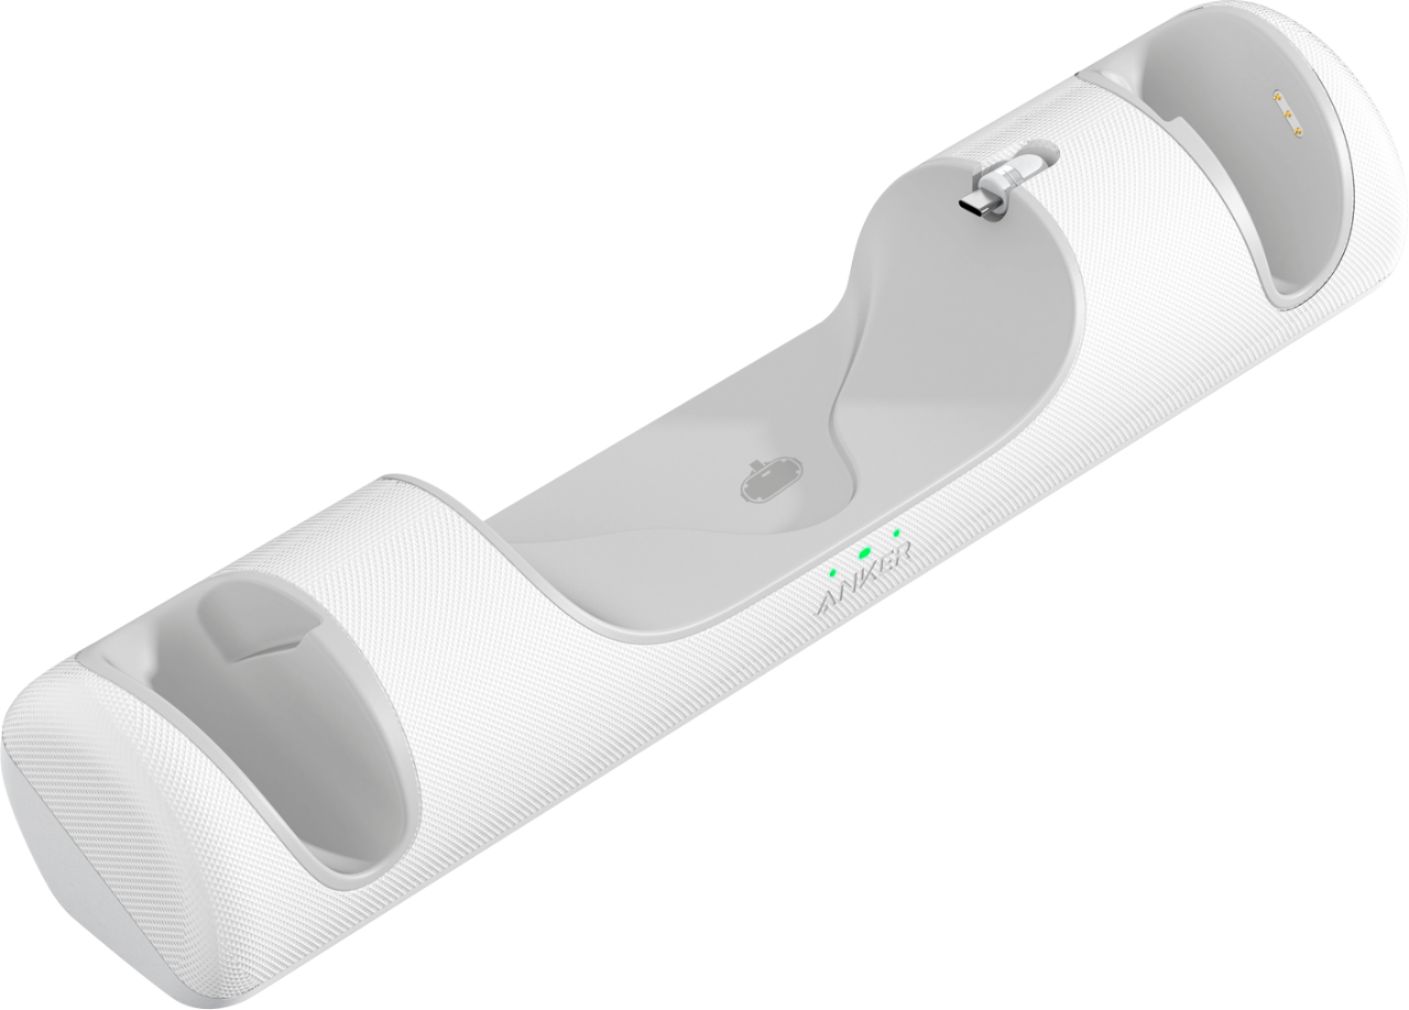
2. Place your headset into the charging dock and ensure that the magnetic USB-C plug adheres to the magnetic output connector.
3. Remove the original battery door and alkaline battery from the controllers.
4. Install the rechargeable battery with the correct polarity, making sure that the two bare metal sheets align with the outer frame of the battery compartment. Close the battery door and place the controllers into the charging dock.
5. Connect the charging dock to the power supply using the provided USB-C charging cable and charger.
6. The power LED indicators on the charging dock will turn on, indicating that the devices are being charged.
Please note that if you use a charger with an output of 5~15W, the charging dock will prioritize charging the headset. If the charger's output is less than 5W, the charging dock will not work.
After the controllers are fully charged and left on the charging dock for more than 6 hours, the battery level displayed on your Quest 2 or in the App may be less than 100%, but it will still have enough power to last for more than 10 hours.
For further details and safety instructions, please refer to the ANKER Y1010 Charging Dock for Oculus Quest 2 User Manual.


Add New Comment