 User Manual Q&A
Answer

Feb 04, 2025 - 02:51 AM
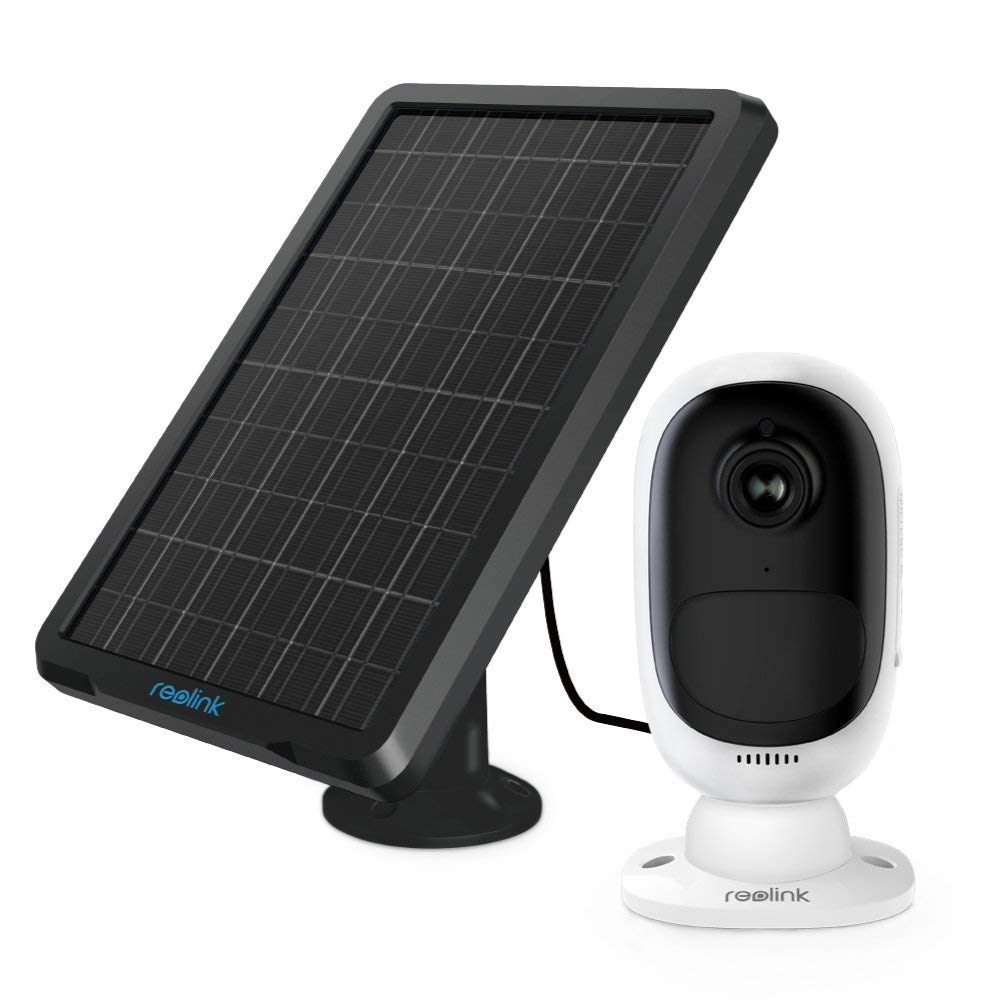
To install the Reolink Argus 2 solar powered security camera, follow these steps:


1. Install the Rechargeable Battery:

   - Slide the battery downward and lock it firmly.

   - Check the button status to ensure the battery is installed correctly.

   - To remove the battery, pull the button on the top of the battery and slide it upwards.


2. Set up the Camera:

   - Download and launch the Reolink App or Client software on your smartphone or PC.

   - Follow the onscreen instructions to finish the initial setup.


3. Charge the Battery:

   - Charge the battery using a power adapter (not included) or a Reolink Solar Panel (sold separately).

   - Always cover the USB charging port with the rubber plug after finishing charging for weatherproof performance.

   - The charging indicator will show an orange LED when charging and a green LED when fully charged.


4. Installation Guides:

   - Use the camera skin provided for better weatherproof performance when installing the camera outdoors.

   - Install the camera 2-3 meters (7-10 ft) above the ground for optimal motion detection.

   - For effective motion detection, install the camera angularly.


5. Mount the Camera:

   - Press the button to release the plate from the security mount.

   -  xxxx  the security mount plate into the wall or fasten it to a tree.

   - Lock the security mount on its plate and  xxxx  the camera onto the mount.

   - Adjust the camera's angle and tighten the  xxxx  to lock it.


6. Magnet (for Argus 2 only):

   - Put up the skin provided for the Reolink Argus 2 camera.

   - Use the anti-falling safety rope to secure the camera to the wall mount.

   - Stick the camera to the wall mount and twist it to adjust the direction.


For more detailed instructions and troubleshooting, refer to the Reolink Argus 2/Argus Pro Operational Instruction manual available on the Reolink website.


Add New Comment