Answer

Feb 03, 2025 - 01:31 AM
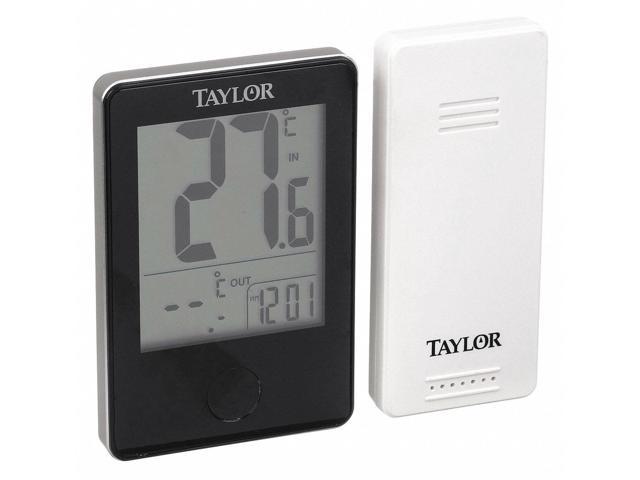
To install batteries in the Taylor 1730 Wireless Indoor/Outdoor Thermometer and Clock with Remote Sensor, follow these steps:


1. Base Station: The base station operates on 2 AAA batteries (not included). Locate the battery compartment at the back of the station and remove the battery compartment door. Install 2 AAA size batteries into the battery compartment according to the polarity markings. Replace the battery compartment door.


2. Remote Sensor: The remote sensor also operates on 2 AAA batteries (not included). Slide off the battery compartment cover located at the back of the sensor. Install 2 AAA size batteries into the battery compartment according to the polarity markings. Replace the battery compartment cover.


3. After Batteries are Installed: Once the batteries are installed, the LCD screen on the base station will light up for 3 seconds, and then the station will display initial indoor temperature readings. The outdoor temperature display will show dashes "--". Press and hold the button on the front of the base station to activate the pairing process and obtain the outdoor temperature. The transmission signal icon (" ") will flash by the "OUT" temperature digits during this time. When the icon turns off, the base station has connected with the remote sensor and will start reporting the current outdoor temperature.


Note: It is important to install the batteries in the base station first, and then in the remote sensor to ensure proper connection. Keep the base station and remote sensor close to each other during setup for the best connection. Also, make sure to remove any static cling label over the digital display before use.


For more detailed information and troubleshooting tips, please refer to the instruction manual provided with the product.
 User Manual Q&A


Add New Comment