Answer

Feb 01, 2025 - 04:27 AM
To mix and apply Dentsply Sirona AH Plus AH Plus Jet Root Canal Sealer, follow these steps:


1. Preparation: Prior to application, prepare, clean, and dry the root canals using standard endodontic techniques.


2. Dosage and Mixing:

- AH Plus Root Canal Sealer (tubes): Mix equal volume units (1:1) of paste A (amber color) and paste B (white color) of AH Plus Root Canal Sealer on a glass slab or the mixing pad provided. Mix until a homogeneous consistency is achieved. Tightly close the tubes after use.

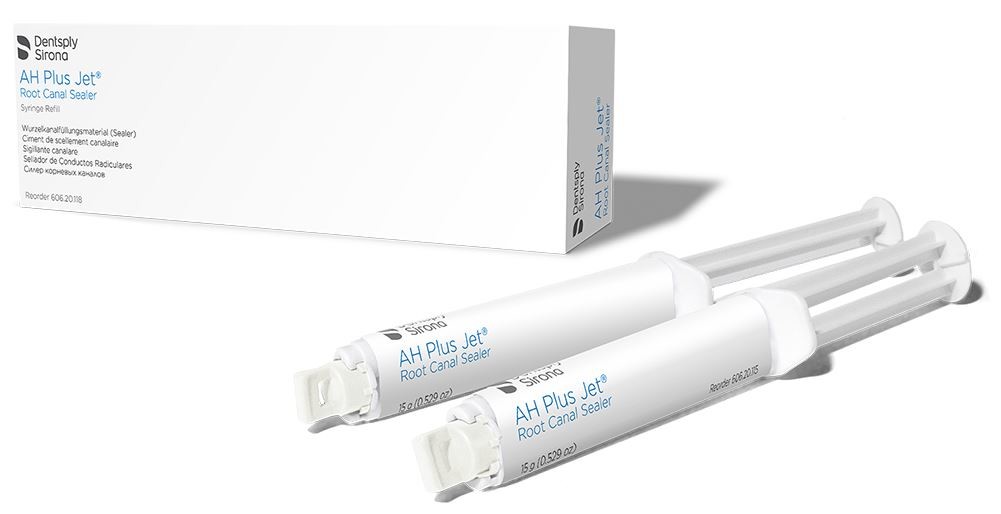
- AH Plus Jet Root Canal Sealer (mixing syringe): Bleed the syringe prior to the first use. Remove the cap from the syringe and attach the mixing tip, ensuring proper alignment. Apply steady pressure on the plunger to automatically mix the two pastes in equal volume units. After use, remove the mixing tip and replace the cap on the syringe head.


3. Application:

- Avoid overfilling the root canal to prevent damage to periapical tissue.

- For condensation and warm gutta-percha obturation techniques, apply a light coating of sealer onto the canal walls.

- If overfilling occurs, take appropriate measures to address the situation.

- Do not allow the material to dry inside the canal or the mixing tip.


4. Filling Techniques:

- Condensation and Warm Gutta-Percha Techniques: Apply a light coating of sealer with a paper point or file onto the canal walls to the working length. Apply a light coating of sealer onto the surface(s) of the root canal filling point(s). Insert the root canal filling point(s) according to standard procedure.

- Master-Point Technique: Wet the canal walls with the material through a pumping or simultaneously rotating movement of the point/reamer. Alternatively, apply the material onto the tip of a Lentulo spiral. Advance the Lentulo spiral slowly to the apex, running at a low speed. Withdraw the Lentulo slowly while still running at a low speed. Dip a disinfected and dry master point into the material and insert it into the canal with a slow pumping motion.


5. Working and Setting Time:

- Working time is 4 hours at 23 °C.

- Setting time is 24 hours at 37 °C.


Please refer to the product manual for complete instructions, safety precautions, and storage conditions.
 User Manual Q&A


Add New Comment