 User Manual Q&A
Answer

Jan 29, 2025 - 03:59 AM
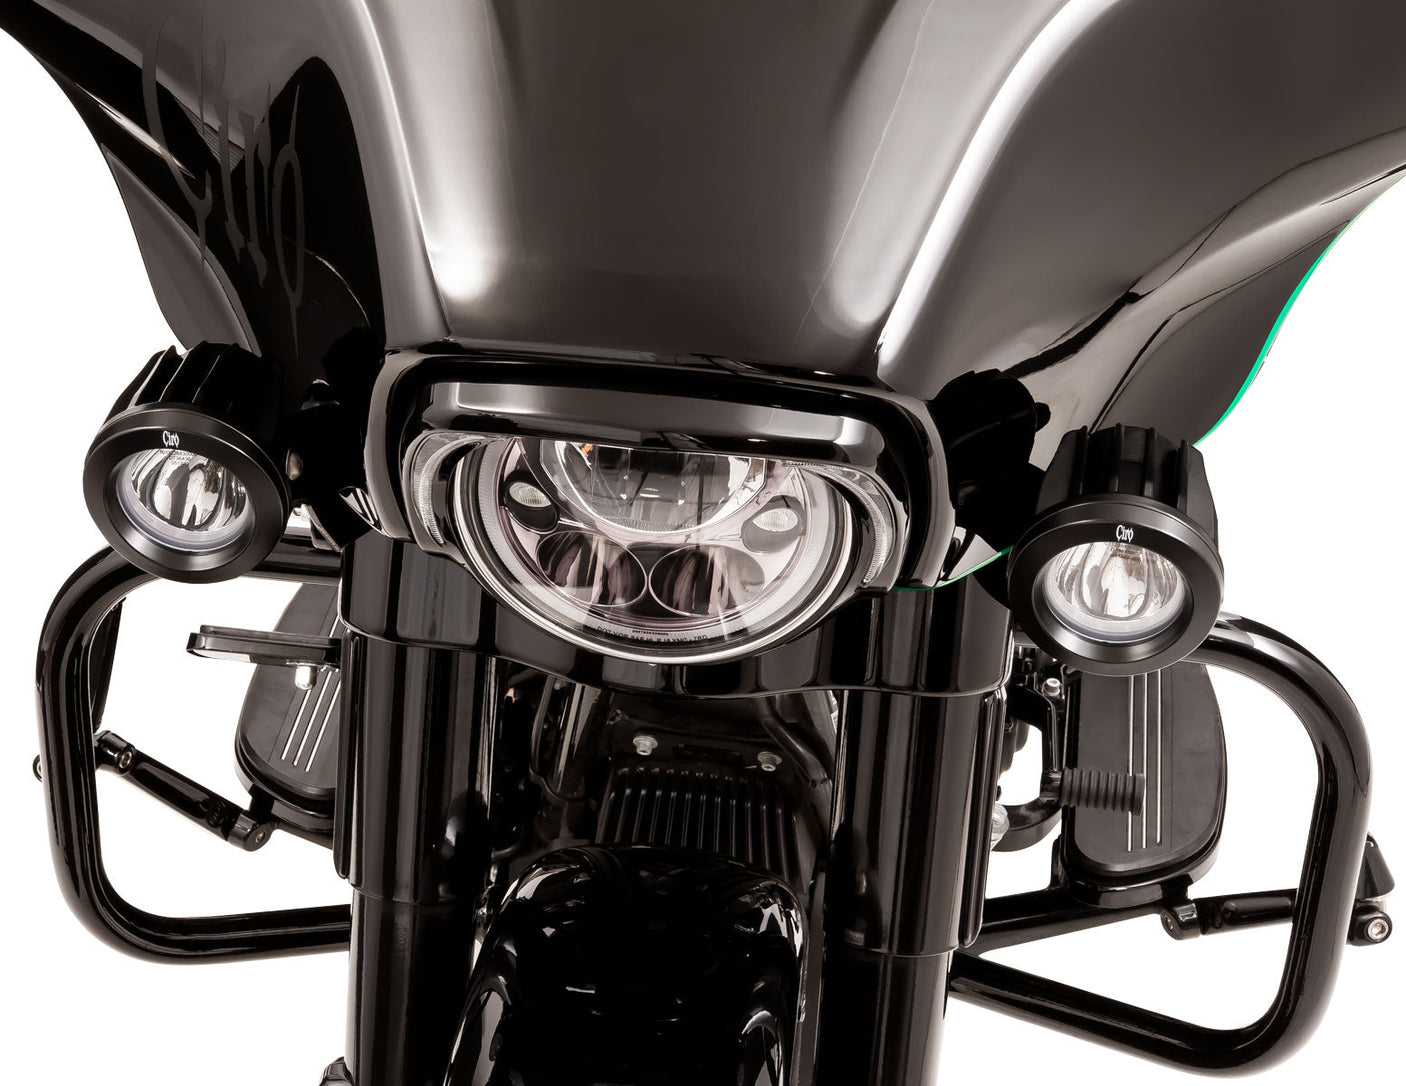
To install the Ciro TAC-10 Light Cannons on your motorcycle, please follow the step-by-step instructions provided in the instruction manual:


1. Park your motorcycle on a level surface and turn off the engine. Allow the engine to cool before starting the installation process.

2. Secure your motorcycle in an upright vertical position using a center stand or frame jack.

3. Place a soft cloth on the front fender and remove the outer fairing. Unplug the headlight and set the outer fairing aside. It is recommended to have a second person assist you in removing the fairing.

4. Remove the turn signal mounts and unplug the turn signals. Set them aside for re-installation.

5. Remove the double studs that hold the turn signal bracket and set them aside for re-installation.

6. Assemble the lights and "U" shaped brackets. Place the carriage bolt into the bracket followed by the light. Route the wire under the light, pointing forward between the "U" shaped bracket and light. Use the rubber spacers and star washers inside the bracket and the flat washers and button head bolts on the outside of the bracket. Secure the bolts, but do not over-tighten them.

7. Assemble the light and bracket onto the large "L" shaped bracket using the supplied nuts and washers. Secure the nuts, but do not over-tighten them.

8. Install the assembly onto the motorcycle using the double studs and leave them loose. This will help with fairing clearance during re-installation.

9. Route the wires into the side of the fairing.

10. Place the supplied wire harness on the front of the motorcycle and plug it into the accessory plug.

11. Route the TAC-10 light wires up to the corresponding bullet connectors on the harness and connect them.

12. Connect the red and yellow wire spade connectors.

13. Turn on the ignition and check the TAC-10 driving lights to familiarize yourself with their functions. The halo and driving light should be illuminated.

14. If you want to control the driving lights with a switch, install it in line with the yellow and red wires from step 12.

15. If you want the driving lights to come on with the hi-beam, connect the red wire to the hi-beam power wire using the included T-Tap.

16. Check all wires to ensure they are not pinched and secure them with the included zip ties.

17. Have a second person hold the fairing at the front of the motorcycle for the next steps.

18. Cover the TAC-10 lights with soft towels. Place the fairing near its installed position and plug in the headlight. Re-install the fairing according to factory specifications.

19. Tighten the double studs to factory specifications (Torque to 120-180 in-lbs or 13.6-20.3 Nm). Connect and reinstall the turn signals, making sure to route the TAC-10 wires behind the turn signal bracket.

20. Adjust the angle of the TAC-10 lights and then check and tighten all fasteners.


Please note that these instructions are a summary of the installation process. For more detailed information and illustrations, refer to the Ciro TAC-10 Light Cannons Instruction Manual provided with the product.


Add New Comment