Answer

Dec 04, 2024 - 11:09 AM

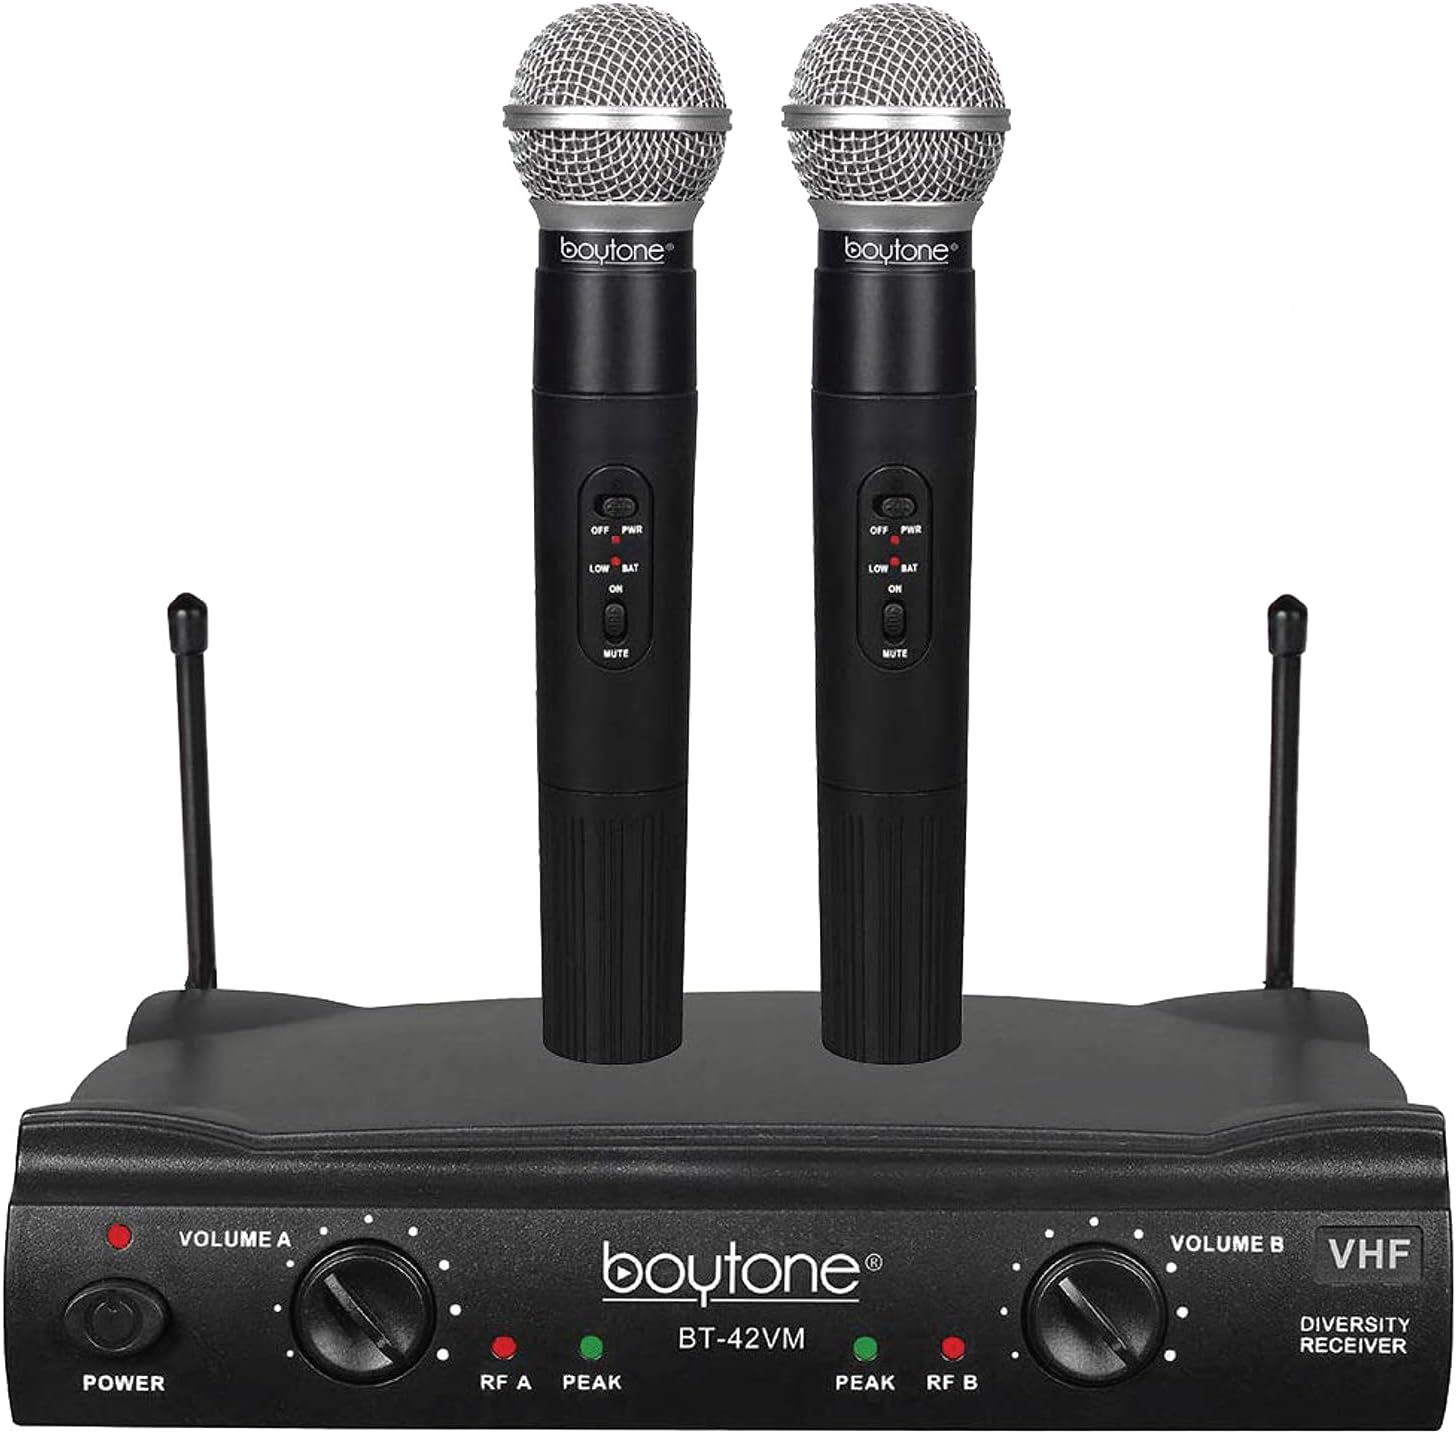
Setting up the Boytone BT-42VM Dual Channel Wireless Microphone System is relatively straightforward. Here are the step-by-step instructions:


1. Unbox the package and ensure that all the components are present, including the wireless microphones, receiver unit, batteries, and any necessary cables.


2. Insert two 9V batteries into the wireless microphones, following the correct polarity indicated in the battery compartment.


3. Connect the receiver unit to your audio setup. Depending on your audio system, you may need to use a 1/4-inch or XLR cable to connect the receiver's output to your amplifier, mixer, or speaker system.


4. Power on your audio system and the receiver unit.


5. Turn on the wireless microphones by pressing the power button or switch located on each microphone. The microphones should sync with the receiver automatically.


6. Adjust the volume levels for each microphone using the individual volume controls on the receiver unit. This allows you to balance the audio levels between the two microphones.


7. Perform a sound check by speaking or singing into each microphone. Adjust the volume levels further if needed.


8. Once you are satisfied with the setup, you can start using the Boytone BT-42VM Dual Channel Wireless Microphone System for your karaoke party or any other application.


Please refer to the user manual for any specific instructions or troubleshooting tips that may be provided by the manufacturer.
 User Manual Q&A


Add New Comment